Getting Started
NOTE: TT-Torch is deprecated. To work with PyTorch and the various features available in TT-Torch, please see the documentation for TT-XLA.
This document describes how to build the TT-Torch project on your local machine. You must build from source if you want to develop for TT-Torch. If you only want to run models, please choose one of the following sets of instructions instead:
- Installing a Wheel and Running an Example - You should choose this option if you want to run models.
- Using a Docker Container to Run an Example - Choose this option if you want to keep the environment separate from your existing environment.
The following topics are covered:
NOTE: If you encounter issues, please request assistance on the TT-Torch Issues page.
Configuring Hardware
Before setup can happen, you must configure your hardware. You can skip this section if you already completed the configuration steps. Otherwise, this section of the walkthrough shows you how to do a quick setup using TT-Installer.
-
Configure your hardware with TT-Installer using the Quick Installation section here.
-
Reboot your machine.
-
Please ensure that after you run this script, after you complete reboot, you activate the virtual environment it sets up -
source ~/.tenstorrent-venv/bin/activate. -
After your environment is running, to check that everything is configured, type the following:
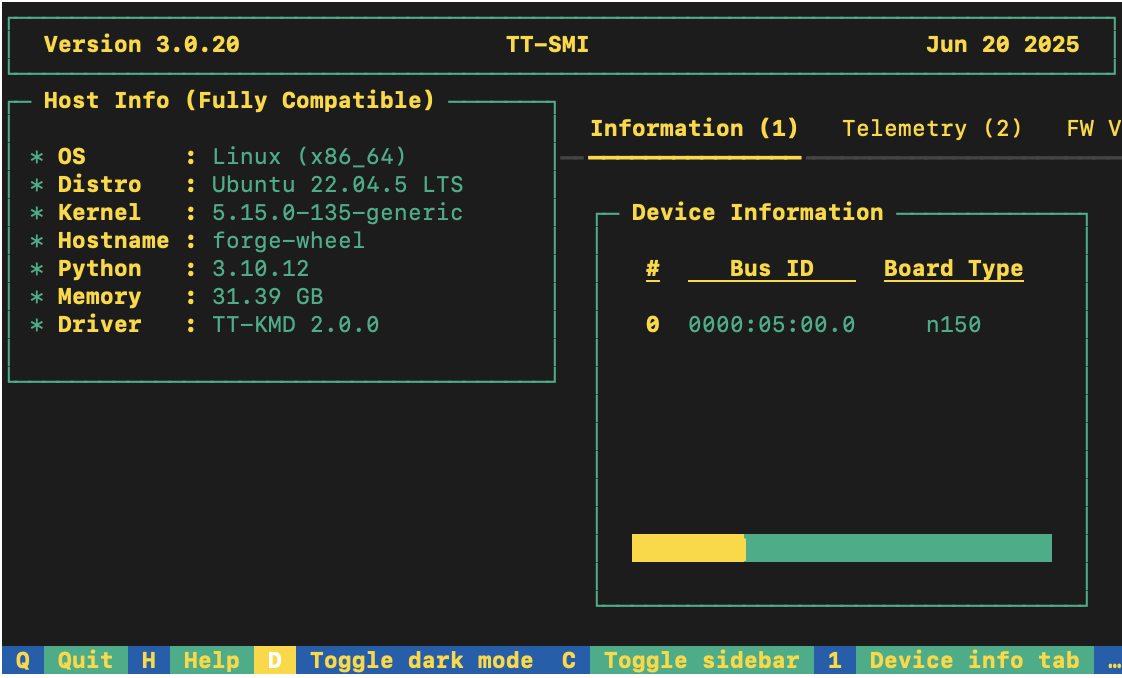
tt-smi
You should see the Tenstorrent System Management Interface. It allows you to view real-time stats, diagnostics, and health info about your Tenstorrent device.
System Dependencies
TT-Torch has the following system dependencies:
- Ubuntu 22.04
- Python 3.11
- python3.11-venv
- Clang 17
- GCC 11
- Ninja
- CMake 4.0.3
Installing Python
If your system already has Python installed, make sure it is Python 3.11 or higher:
python3 --version
If not, install Python:
sudo apt install python3.11
Installing CMake 4.0.3
This section walks you through installing CMake 4 or higher.
- Install CMake 4.0.3:
pip install cmake==4.0.3
- Check that the correct version of CMake is installed:
cmake --version
If you see cmake version 4.0.3 you are ready for the next section.
Installing LLVM 17 Toolchain
This section walks you through installing LLVM 17 Toolchain.
- Download LLVM 17 Toolchain Installation Script:
wget https://apt.llvm.org/llvm.sh
chmod u+x llvm.sh
sudo ./llvm.sh 17
- Install C++ Standard Library (libc++) Development Files for LLVM 17:
sudo apt install -y libc++-17-dev libc++abi-17-dev
- Symlink Clang:
sudo ln -s /usr/bin/clang-17 /usr/bin/clang
sudo ln -s /usr/bin/clang++-17 /usr/bin/clang++
- Check that the selected GCC candidate using Clang 17 is using 11:
clang -v
- Look for the line that starts with:
Selected GCC installation:. If it is something other than GCC 11, and you do not see GCC 11 listed as an option, please install GCC 11 using:
sudo apt-get install gcc-11 lib32stdc++-11-dev lib32gcc-11-dev
- If you see GCC 12 listed as installed and listed as the default choice, uninstall it with:
sudo rm -rf /usr/bin/../lib/gcc/x86_64-linux-gnu/12
Installing Dependencies
Install additional dependencies required by TT-Torch that were not installed by the TT-Installer script:
sudo apt-get install -y \
    libhwloc-dev \
    libtbb-dev \
    libcapstone-dev \
    pkg-config \
    linux-tools-generic \
    ninja-build \
    libgtest-dev \
    ccache \
    doxygen \
    graphviz \
    patchelf \
    libyaml-cpp-dev \
    libboost-all-dev \
    lcov \
    protobuf-compiler
Install OpenMPI:
sudo wget -q https://github.com/dmakoviichuk-tt/mpi-ulfm/releases/download/v5.0.7-ulfm/openmpi-ulfm_5.0.7-1_amd64.deb -O /tmp/openmpi-ulfm.deb && sudo apt install /tmp/openmpi-ulfm.deb
NOTE: If you want to run a test which uses
cv2(i.e. YOLOv10), please install libgl.
How to Build From Source
This section describes how to build TT-Torch. You need to build TT-Torch whether you plan to do development work, or run models.
- Clone the TT-Torch repo:
git clone https://github.com/tenstorrent/tt-torch.git
cd tt-torch
- Create a toolchain directory and make the account you are using the owner:
sudo mkdir -p /opt/ttmlir-toolchain
sudo chown -R $USER /opt/ttmlir-toolchain
- Build the toolchain for TT-Torch (this build step only needs to be done once):
cd third_party
cmake -B toolchain -DBUILD_TOOLCHAIN=ON
cd -
NOTE: This step takes a long time to complete.
- Build TT-Torch:
source env/activate
cmake -G Ninja -B build
cmake --build build
cmake --install build
NOTE: It takes a while for everything to build.
After the build completes, you are ready to run a test model.
Running a Test Model
You can test your installation by running the resnet50_demo.py:
python demos/resnet/resnet50_demo.py
For additional tests and models, please follow Testing.