Getting Started with Docker
This document walks you through how to set up TT-Forge-FE using a Docker image. There are two other available options for getting started:
- Installing a Wheel - if you do not want to use Docker, and prefer to use a virtual environment by itself instead, use this method.
- Building from Source - if you plan to develop TT-Forge-FE further, you must build from source, and should use this method.
NOTE: TT-Forge-FE is a framework agnostic frontend that can convert any model to a generic Intermediate Representation (IR) that can then be converted to a Tenstorrent specific IR for use with Tenstorrent hardware. TT-Forge-FE is for use with single-chip systems only.
The following topics are covered:
NOTE: If you encounter issues, please request assistance on the TT-Forge-FE Issues page.
Configuring Hardware
Before setup can happen, you must configure your hardware. You can skip this section if you already completed the configuration steps. Otherwise, this section of the walkthrough shows you how to do a quick setup using TT-Installer.
-
Configure your hardware with TT-Installer using the Quick Installation section here.
-
Reboot your machine.
-
Make sure hugepages is enabled:
sudo systemctl enable --now 'dev-hugepages\x2d1G.mount'
sudo systemctl enable --now tenstorrent-hugepages.service
-
Please ensure that after you run the TT-Installer script, after you complete reboot and set up hugepages, you activate the virtual environment it sets up -
source ~/.tenstorrent-venv/bin/activate. -
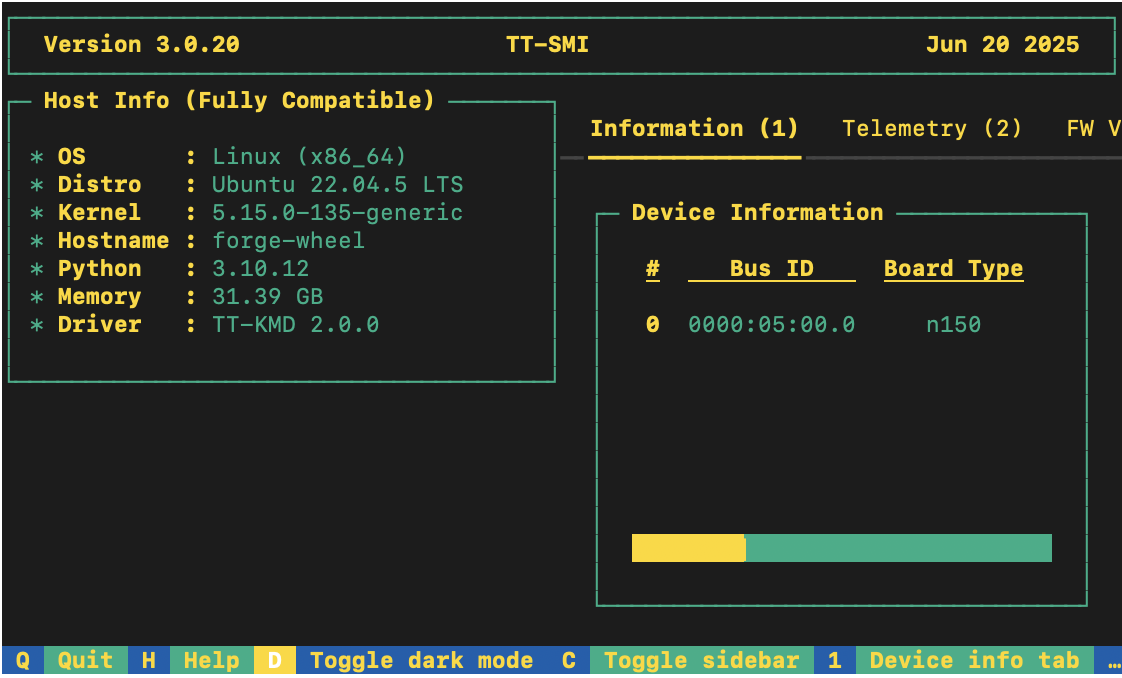
When your environment is running, to check that everything is configured, type the following:
tt-smi
You should see the Tenstorrent System Management Interface. It allows you to view real-time stats, diagnostics, and health info about your Tenstorrent device.
- You can now deactivate the virtual environment.
Setting up the Docker Container
This section walks through the installation steps for using a Docker container for your project.
To install, do the following:
- Install Docker if you do not already have it:
sudo apt update
sudo apt install docker.io -y
sudo systemctl start docker
sudo systemctl enable docker
- Test that Docker is installed:
docker --version
- Add your user to the Docker group:
sudo usermod -aG docker $USER
newgrp docker
- Run the Docker container:
docker run -it --rm \
  --device /dev/tenstorrent \
  -v /dev/hugepages-1G:/dev/hugepages-1G \
  ghcr.io/tenstorrent/tt-forge-slim:latest
NOTE: You cannot isolate devices in containers. You must pass through all devices even if you are only using one. You can do this by passing
--device /dev/tenstorrent. Do not try to pass--device /dev/tenstorrent/1or similar, as this type of device-in-container isolation will result in fatal errors later on during execution.
- If you want to check that it is running, open a new tab with the Same Command option and run the following:
docker ps
- To check that everything is running as expected, try an example model. You can use nano or another text editor to paste this code into a file named forge_example.py and then run it from the terminal:
import torch
import forge

class Add(torch.nn.Module):
  def __init__(self):
    super().__init__()

  def forward(self, a, b):
    return a + b

a = torch.rand(size=(2, 32, 32))
b = torch.rand(size=(2, 32, 32))

framework_module = Add()
compiled_model = forge.compile(framework_module, sample_inputs=[a, b])

out = compiled_model(a, b)

print("compiled output:", out)
- If all goes well, you are now ready to move on to the next section, and run your first demo model.
Running Models in Docker
This section shows you how to run a model using Docker. The provided example is from the TT-Forge repo. Do the following:
- Inside your running Docker container, clone the TT-Forge repo:
git clone https://github.com/tenstorrent/tt-forge.git
- Set the path for Python:
export PYTHONPATH=/tt-forge:$PYTHONPATH
- Navigate into TT-Forge and run the following command:
git submodule update --init --recursive
-
Navigate back out of the TT-Forge directory.
-
For this set up, the mobile_netv2_demo.py is used. Navigate into tt-forge and run the following command:
python demos/tt-forge-fe/cnn/mobile_netv2_demo.py
- If all goes well you will get a prediction stating the best guess for what the image is, and the probability that the model identified the image correctly.
Where to Go Next
Now that you have set up TT-Forge-FE, you can compile and run your own models. See the TT-Forge-FE folder in the TT-Forge repo for more demo options.
For a quick start about how to compile a model, here is a code sample. Note the introduction of the forge.compile call:
import torch
from transformers import ResNetForImageClassification

def resnet():
    # Load image, pre-process, etc.
    ...

    # Load model (e.g. from HuggingFace)
    framework_model = ResNetForImageClassification.from_pretrained("microsoft/resnet-50")

    # Compile the model using Forge
    compiled_model = forge.compile(framework_model, input_image)

    # Run compiled model
    logits = compiled_model(input_image)

    ...
    # Post-process output, return results, etc.