Native Video Animation with AnimateDiff
Run SD 1.4 video generation on Blackhole® — down to 7.7 s/frame with the full AnimateDiff MotionAdapter, no distillation required.
This lesson walks through four paths to animated video, from CPU baseline to full Blackhole hardware acceleration with native MotionAdapter temporal attention:
- Phase 1 (any hardware) —
diffusersAnimateDiffPipelineon CPU, full AnimateDiff via MotionAdapter, ~2 min/frame - Phase 2.5 (Blackhole) — TT-NN™ UNet on Blackhole + cross-frame attention blend, ~12.5 s/frame
- Lightning (Blackhole) — Euler scheduler (
CFG=7.5, any step count), ~12.0 s/frame - Phase 3 (Blackhole) — full
AnimateDiffTransformer3Dinjected at 7 UNet points; fast path (--motion-adapter-skip up1 up2) ~7.7 s/frame — faster than Phase 2.5
Along the way you'll learn the model bring-up methodology: how to create standalone packages that integrate with TT-Metalium™ without modifying the core repository.
What you'll build
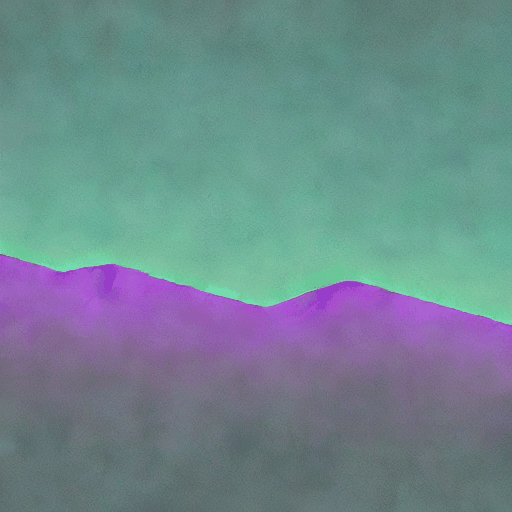
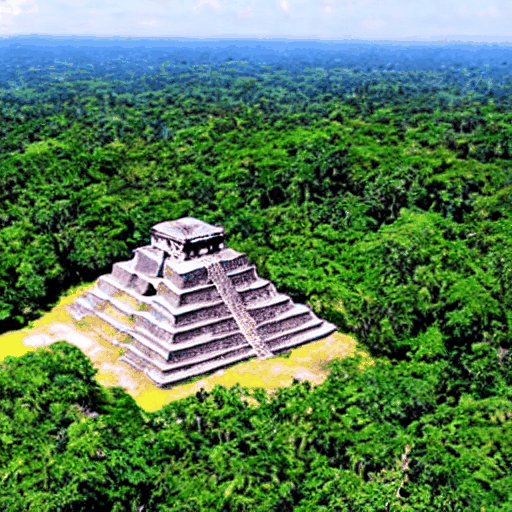
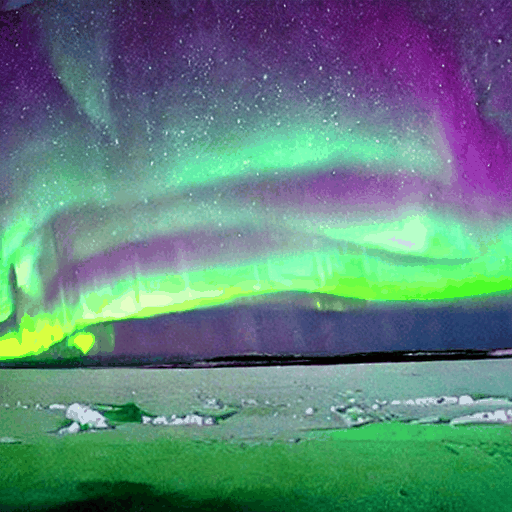
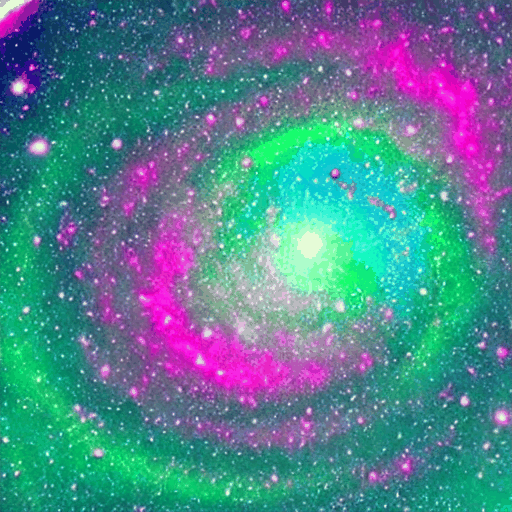
Generated on a single Blackhole p300c — 8 frames × 25 steps each:
| "World of Tomorrow" | "Phosphor Horizon" | "Mayan Temple" |
|---|---|---|
 |
 |
 |
Full Lightning mode gallery and benchmark page at the live showcase.
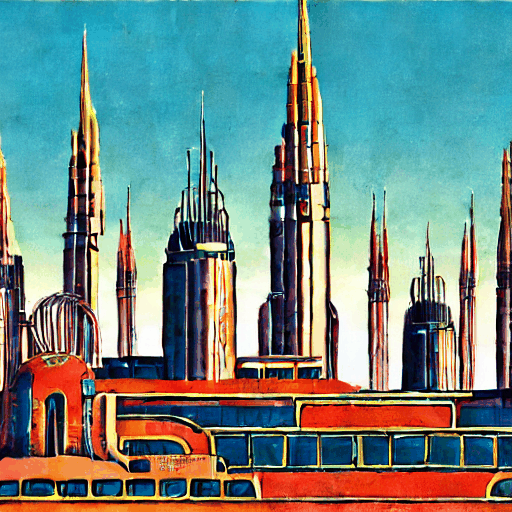
Chip grid — Tensix nodes showcase
What is AnimateDiff?
AnimateDiff adds temporal attention to Stable Diffusion 1.4 by injecting TemporalTransformer blocks into every BasicTransformerBlock in the UNet — at the 320-dim feature level where the motion weights were trained:
SD 1.4 UNet WITHOUT MotionAdapter:
  Noise → [Down blocks] → [Mid block] → [Up blocks] → Denoised latent
           each block: BasicTransformerBlock(spatial attention only)

SD 1.4 UNet WITH MotionAdapter (Phase 1):
  Noise → [Down blocks] → [Mid block] → [Up blocks] → Denoised latent
           each block: BasicTransformerBlock
                         └── spatial attention (unchanged, 320-dim)
                         └── TemporalTransformer (cross-frame, 320-dim)
                                            ↑
                               mm_sd_v15_v2.ckpt weights here
Why SD 1.4, not SD 3.5? AnimateDiff motion weights (mm_sd_v15_v2.ckpt) were trained for SD 1.5's UNet with 320-dim transformer blocks. SD 3.5 uses a DiT with 2432-dim blocks — architecturally incompatible. The diffusers AnimateDiffPipeline handles MotionAdapter injection automatically when paired with the SD 1.4 base model.
Step 1: Get the project
git clone --depth 1 --branch v0.9.0 \
    https://github.com/tenstorrent/tt-animatediff.git \
    ~/tt-projects/tt-animatediff

cd ~/tt-projects/tt-animatediff
pip install -e ".[dev]"
Or use the button:
mkdir -p ~/tt-projects && git clone --depth 1 --branch v0.1.0 https://github.com/tenstorrent/tt-animatediff.git ~/tt-projects/tt-animatediff 2>&1 || (cd ~/tt-projects/tt-animatediff && git fetch --tags && git checkout v0.1.0) && cd ~/tt-projects/tt-animatediff && python3 -m pip install -e ".[dev]" && python3 -c "import animatediff_ttnn; print('✓ tt-animatediff v0.1.0 ready at ~/tt-projects/tt-animatediff/')"Project structure:
tt-animatediff/
├── animatediff_ttnn/
│   ├── pipeline.py               Phase 1: CPU AnimateDiffPipeline wrapper
│   ├── ttnn_pipeline.py          Phase 2/2.5: Blackhole TT-NN UNet + PNDM
│   ├── temporal_attention.py     Phase 2.5/3: cross-frame blend + generate_frames_motion()
│   ├── tt_euler_scheduler.py     Lightning: TtEulerScheduler (Euler on Blackhole)
│   ├── generation_helpers.py     Shared load_sd14_ttnn / encode_prompt
│   ├── motion_weights.py         Phase 3: load MotionAdapter weights
│   ├── ttnn_motion_pipeline.py   Phase 3: _apply_temporal() + forward_unet_staged()
│   ├── temporal_module.py        Reference — temporal attention math
│   └── ttlang/                   TT-Lang sim kernel track (QKV, SDPA, out proj)
├── examples/
│   └── generate.py               Unified entry point (all modes and flags)
├── app.py                        Gradio UI (local + HuggingFace Spaces)
├── spaces/                       HF Spaces deployment files
└── tests/                        Unit tests, no hardware required
Step 2: Download the models
# SD 1.4 — required for all phases
hf download CompVis/stable-diffusion-v1-4

# AnimateDiff MotionAdapter — Phase 1 and Phase 3
hf download guoyww/animatediff-motion-adapter-v1-5-2

# CPU Lightning (optional) — 4-step distilled adapter
# hf download ByteDance/AnimateDiff-Lightning
Step 3: Phase 1 — CPU AnimateDiffPipeline
The diffusers AnimateDiffPipeline loads SD 1.4, injects the MotionAdapter at every transformer block, and denoises all frames simultaneously with temporal attention. This is the reference implementation — correct output to compare against hardware results.
cd ~/tt-projects/tt-animatediff && python3 examples/generate.py --mode cpu --prompt "purple phosphor glow across distant mountains at 2am, retro CRT haze, cyan mist, cinematic" --frames 8 --steps 25 --output output/phase1.gif 2>&1 | grep -v "DEBUG\|Config{"cd ~/tt-projects/tt-animatediff
# Standard — full AnimateDiff, ~2 min/frame
python3 examples/generate.py --mode cpu \
--prompt "aurora borealis over arctic ice, green and violet ribbons, cinematic" \
--frames 8 --steps 25 --output output/phase1.gif
# Lightning — distilled 4-step adapter, ~20 s/frame
python3 examples/generate.py --mode cpu --lightning --lightning-steps 4 \
--prompt "crackling campfire at night, ember glow, cinematic" \
--frames 8 --output output/phase1_lightning.gif
Expected: 8 frames of temporally coherent animation. CPU Lightning (--lightning) uses the real ByteDance/AnimateDiff-Lightning distilled adapter (CFG=1.0 baked in, 4-step default).
Step 4: Phase 2.5 — Blackhole + temporal attention
Replaces the PyTorch UNet with the TT-NN UNet, running natively on Blackhole silicon. Cross-frame self-attention blends noise predictions at each PNDM step for temporal coherence.
Requires: Blackhole hardware (p100/p150/p300c/TT-QuietBox® 2) and ~/tt-metal built.
cd ~/tt-metal && source python_env/bin/activate && cd ~/tt-projects/tt-animatediff && python3 examples/generate.py --mode blackhole --prompt "1939 World's Fair imagined from the year 2099, art deco spires at golden dusk, retro-futurist optimism, cinematic 4K" --frames 8 --steps 25 --temporal-alpha 0.35 --output output/blackhole.gif 2>&1 | grep -v "DEBUG\\|Config{" | grep -v "^2026\\|UMD"# Activate TT environment (choose for your setup):
tt-metal # tt-developer-image / Docker
# source ~/.tenstorrent-venv/bin/activate # QB2 pre-installed image
# source /opt/venv-metal/bin/activate # cloud / custom install
cd ~/tt-projects/tt-animatediff
python3 examples/generate.py \
--prompt "1939 World's Fair imagined from the year 2099, art deco spires at golden dusk, retro-futurist optimism, cinematic 4K" \
--frames 8 --steps 25 --temporal-alpha 0.35 \
--output output/blackhole.gif
Expected:
Opening Blackhole device...
  Building TTNN UNet (~2-3 min first run, cached after)...
  Loaded in 7.3s

Generating 8 frame(s)...
  Done in 100.1s (12.5s/frame)

Saved 8 frame(s) → output/blackhole.gif
Step 5: Lightning mode — Euler scheduler on Blackhole
--lightning on Blackhole uses EulerDiscreteScheduler (trailing, linear) with the base SD 1.4 TTNN UNet. CFG=7.5 is retained — this is a different solver trajectory, not fewer steps, not a distilled model. Any step count works.
python3 examples/generate.py --lightning \
    --prompt "aurora borealis over a frozen lake, cinematic 4K" \
    --frames 8 --steps 25 --output output/lightning.gif
Expected: ~12.0 s/frame. Similar quality to PNDM at the same step count — use when you want to compare solver trajectories or prefer Euler's smoother noise schedule.
See the full 10-prompt comparison gallery for PNDM vs Lightning side-by-side.
Step 6: Phase 3 — Full MotionAdapter on Blackhole
Phase 3 injects the full AnimateDiffTransformer3D at 7 points (down0/1/2, mid, up0/1/2) in the SD 1.4 TTNN UNet via CPU round-trip — no tt-metal source modifications. Weights loaded straight from guoyww/animatediff-motion-adapter-v1-5-2.
Full Phase 3 (~52 s/frame)
python3 examples/generate.py --motion-adapter \
    --prompt "ancient Mayan temple under shifting cosmos, starfield, cinematic 4K" \
    --frames 8 --steps 25 --output output/phase3_full.gif
Fast Phase 3 — skip up1+up2 (~7.7 s/frame)
The two decoder injection points (up1: 32×32 C=1280, up2: 64×64 C=640) account for ~80% of the CPU transformer cost. Skipping them retains all encoder and mid-block temporal attention:
python3 examples/generate.py --motion-adapter --motion-adapter-skip up1 up2 \
    --prompt "ancient Mayan temple under shifting cosmos, starfield, cinematic 4K" \
    --frames 8 --steps 25 --output output/phase3_fast.gif
Expected: ~7.7 s/frame — faster than Phase 2.5 (12.5 s/frame) with full MotionAdapter temporal coherence in the encoder and mid-block. Minor reduction in decoder-side coherence vs full Phase 3.
Modes at a glance
| Mode | Command | Speed (8 fr, 512²) | Temporal attention |
|---|---|---|---|
| CPU standard | --mode cpu |
~2 min/frame | Full MotionAdapter ✓ |
| CPU Lightning | --mode cpu --lightning |
~20 s/frame | Full MotionAdapter ✓ |
| Blackhole standard | (default) | ~12.5 s/frame | Cross-frame blend |
| Blackhole Lightning | --lightning |
~12.0 s/frame | Cross-frame blend |
| Phase 3 full | --motion-adapter |
~52 s/frame | Full MotionAdapter ✓ |
| Phase 3 fast | --motion-adapter --motion-adapter-skip up1 up2 |
~7.7 s/frame | Full MotionAdapter (encoder+mid) ✓ |
| Simulator | --mode sim |
~10–100× slower | Cross-frame blend |
All timings: QB2, 8 frames at 512×512, warm model (TTNN JIT already compiled).
Gradio UI
A point-and-click interface for all modes. Models stay loaded between generations — only the first run pays the ~7 s load cost and ~2–3 min kernel compilation.
pip install -e ".[ui]"

# Blackhole hardware — activate TT environment (choose for your setup):
tt-metal                                          # tt-developer-image / Docker
# source ~/.tenstorrent-venv/bin/activate         # QB2 pre-installed image
# source /opt/venv-metal/bin/activate             # cloud / custom install
python3 app.py
# Open http://localhost:7860

# CPU only
python3 app.py  # switch mode to "cpu" in the dropdown

# ttsim simulator (no hardware)
python3 app.py  # switch mode to "sim"
UI parameters:
| Parameter | Range | Default | Notes |
|---|---|---|---|
| Mode | cpu / blackhole / sim | blackhole | sim for HF Spaces |
| Frames | 2–24 | 8 | 2–4 recommended for sim |
| Steps | 4–50 | 25 | 4 for CPU Lightning |
| Temporal alpha | 0.0–1.0 | 0.35 | Blackhole/sim only |
| Lightning | checkbox | off | Euler solver (Blackhole/sim) or distilled adapter (CPU) |
| MotionAdapter Phase 3 | checkbox | off | Full AnimateDiff on Blackhole/sim |
HuggingFace Spaces: The spaces/ directory contains deployment files for hosting on HF Spaces (ttsim mode, no hardware required).
No hardware? Use the simulator
ttsim is a bit-exact Blackhole simulator that runs on any Linux/x86_64 machine.
# Quick smoke test — 2 frames, 4 steps
python3 examples/generate.py --mode sim \
    --frames 2 --steps 4 --output output/sim_test.gif

# With explicit sim binary path
python3 examples/generate.py --mode sim \
    --sim ~/sim/libttsim_bh.so --frames 2 --steps 4

# Simulator via Gradio UI
python3 app.py  # switch mode to "sim"
See docs/SIMULATOR.md in the repo for full setup including the ttsim download.
Prompt guide
What SD 1.4 does well
| Category | Examples |
|---|---|
| Cosmic & abstract | nebulae, aurora, galaxies, energy fields, sacred geometry |
| Natural scenes | forests, oceans, deserts, fire, water, sky |
| Painterly styles | oil painting, watercolor, impressionism, concept art |
| Cinematic lighting | golden hour, neon glow, moonlight, candlelight |
| Architecture | temples, ruins, castles, sci-fi structures |
| Retro aesthetics | CRT glow, film grain, vaporwave, cyberpunk |
What to avoid
- Photorealistic faces — anatomy drifts frame-to-frame
- Text in the image — SD 1.4 cannot render legible text
- Very long prompts — CLIP truncates at 77 tokens (~60 words max)
Prompt patterns that work
# Style before subject — weights the style heavily
"watercolor painting of ancient ruins at sunset, soft brushstrokes, muted palette"

# Cinematic lighting descriptors unlock quality
"cinematic 4K, dramatic side lighting, volumetric fog, depth of field"

# Motion-friendly subjects produce the best animation
"crackling campfire"   "ocean waves"   "swirling clouds"   "aurora borealis"
"shifting cosmos"      "flowing lava"  "drifting smoke"    "mandala blooming"
--temporal-alpha tuning (Blackhole/sim, Phase 2.5 / Lightning)
| Value | Effect |
|---|---|
0.0 |
No cross-frame mixing — frames denoised independently |
0.2–0.3 |
Subtle coherence, natural variation frame-to-frame |
0.35 |
Default — good balance for most subjects |
0.5–0.7 |
Strong coherence; background stabilises, detail may flatten |
1.0 |
Maximum blending — frames very similar, low motion |
Fast motion (fire, water): 0.2–0.35 · Slow drift (cosmos, aurora): 0.4–0.6
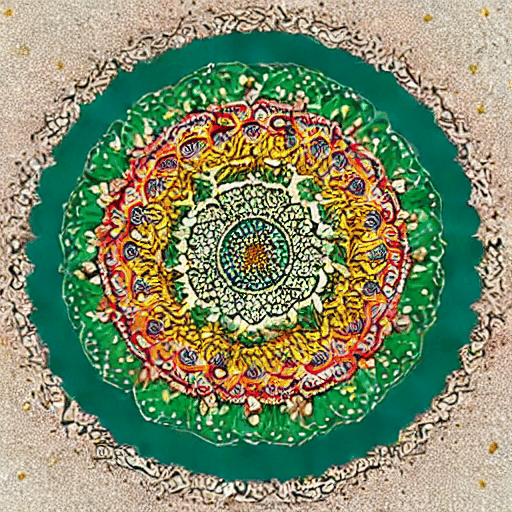
Gallery
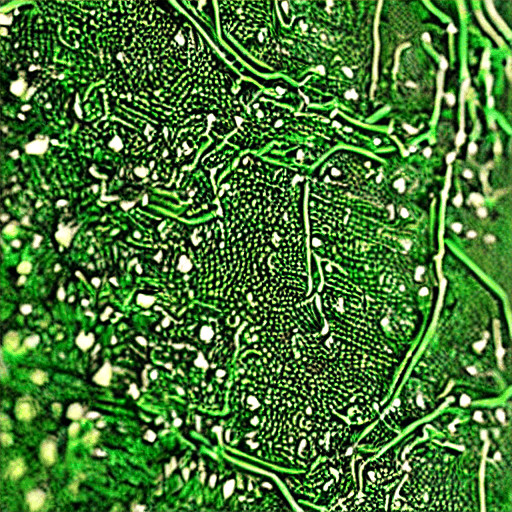
| Sacred geometry | Circuit as nature | Chip as cosmos |
|---|---|---|
 |
 |
 |
| Aurora | Mayan temple | Nebula |
|---|---|---|
 |
|
 |
How Phase 2.5 works
animatediff_ttnn/ttnn_pipeline.py — the Blackhole denoising loop:
def generate_frames_temporal(device, ttnn_model, ttnn_vae, config,
                              torch_time_proj, text_embeddings,
                              num_frames, num_steps, seed, temporal_alpha):
    base_noise = torch.randn((1, 4, 64, 64), generator=generator)
    frame_latents = [
        base_noise + 0.05 * torch.randn((1,4,64,64), generator=generator)
        for _ in range(num_frames)
    ]

    for step_idx, t in enumerate(timesteps):
        # TTNN UNet forward pass per frame on Blackhole
        noise_preds = [
            from_device(ttnn_model(to_device(lat, device), timestep=t, ...), device)
            for lat in frame_latents
        ]
        # Cross-frame attention on CPU — frames agree on structure
        noise_preds = cross_frame_attention(torch.stack(noise_preds), alpha=temporal_alpha)
        for i in range(num_frames):
            frame_latents[i] = pndm_step(noise_preds[i], t, frame_latents[i])

    # TTNN VAE decode on Blackhole
    return [ttnn_vae_decode(ttnn_vae, device, lat) for lat in frame_latents]
CLIP encoding uses the text encoder bundled inside SD 1.4 — no separate download. Tokens are padded 77 → 96 to match the TTNN UNet's expected sequence length.
MeshDevice: setup_blackhole() opens a MeshDevice(1,1) on a single chip. Use --device-id INT to pin to a specific chip for multi-process parallel dispatch across chips.
How Phase 3 works
forward_unet_staged() in ttnn_motion_pipeline.py replicates the TTNN UNet orchestration in-repo, inserting _apply_temporal() hooks between blocks. After each TTNN cross-attention block, hidden states are round-tripped to CPU, passed through AnimateDiffTransformer3D.forward(), then returned to Blackhole.
Batched D→H transfer: All N frame tensors are pulled from device in a single ttnn.concat → ttnn.to_torch call (1.94× speedup over naive per-frame). H→D stays per-frame — ttnn.split produces parent-buffer views incompatible with the downstream resnet reshard kernel.
--motion-adapter-skip speed table (QB2, 8 frames, 25 steps):
| Configuration | s/frame | Notes |
|---|---|---|
| Baseline (per-frame D→H, pre-v0.9.0) | ~101 | Original implementation |
| Batched D→H (current default) | ~52 | 1.94× speedup |
Skip up1+up2 (--motion-adapter-skip up1 up2) |
~7.7 | 6.75× vs full; faster than Phase 2.5 |
The model bring-up methodology
Phase 1: Research (1–2 hours)
- Clone the reference implementation
- Read the architecture files — code reveals reality, papers tell the story
- Document key patterns: reshaping logic, injection points, weight keys
- Verify on CPU first — a working baseline is your ground truth
Phase 2: Design (30–60 min)
- Standalone package over monorepo modification — your code, your ownership
- Define the API surface: what does a caller need to pass in?
- Identify the TT-Metalium integration boundary: which ops stay PyTorch, which go TT-NN?
Phase 3: Implementation (2–4 hours)
- Start with PyTorch — easier to debug, matches reference
- Build the TT-NN path after PyTorch is validated
- Keep the CPU path alive as a regression check
Phase 4: Packaging (1 hour)
setup.py+requirements.txtmakes itpip install -e .-able- Single unified entry point (
generate.py --mode cpu|blackhole|sim) - Flags for every variant; no separate scripts
Phase 5: Validate on hardware (1–2 hours)
- First run: expect kernel compilation ~2–3 min — normal, cached after
- Compare output to Phase 1 CPU baseline at same prompt and seed
- If hardware hangs:
tt-smi -r 0 1 2 3 && sleep 8
Total for a complete new model: 6–10 hours.
Known limitations
| Issue | Status |
|---|---|
| First run 2–3 min kernel compilation | Expected; cached after first run |
Phase 3 Lightning (--motion-adapter --lightning) |
~50.6 s/frame — no benefit; CPU bridge calls dominate, not step count |
| TT-Metalium SD path changed in firmware 19.8.0 | See docs/HARDWARE_COMPAT.md for recovery steps |
What's next
TT-Lang native temporal attention kernels
animatediff_ttnn/ttlang/ implements QKV projection, SDPA, and output projection as TT-Lang DSL kernels verified in the functional simulator (9 tests, PCC > 0.999). Hardware smoke test on dual P300c: PCC > 0.99 at all dims. The next step is integrating these kernels directly into the TTNN UNet denoising loop, eliminating the CPU round-trip entirely.
Apply this pattern to other models
The standalone package pattern works for any model:
- ControlNet — conditioning inputs for SD 1.4
- LoRA — weight delta injection into the SD UNet
- IP-Adapter — image-conditioned generation
- Any PyTorch model — wrap it, validate on CPU, port to TT-NN
Resources
- Repo: github.com/tenstorrent/tt-animatediff
- Showcase: tenstorrent.github.io/tt-animatediff
- Benchmark page: tenstorrent.github.io/tt-animatediff/benchmarks.html
- Gallery (PNDM vs Lightning): tenstorrent.github.io/tt-animatediff/gallery.html
- AnimateDiff paper: arxiv 2307.04725
- SD 1.4: CompVis/stable-diffusion